
If you’re considering adding multiple lights to a single switch, then you’ve come to the right place! There are several different ways you can go about completing this project. You can either follow a Pigtail or Daisy-chaining method. Both are simple to complete, and will keep your wires neat and tidy.
Pigtail method
When you have multiple light fixtures to be connected to a single switch, you can use the pigtail method. It is a relatively simple way to make connections.
First, you need to remove the power. Make sure to have a non-contact circuit tester to verify that the switch is off.
Next, you need a 6-inch black wire for the pigtail. Use a wire stripper to remove about 3/4 inch of insulation from the ends of each wire. This gives you a clean connection.
You can also use a cable that connects two electrical boxes. This can be made from a spare piece of cable.
To make the connection, cut a small loop in the wire. The loop should fit snugly around the screw shaft. Secure the wire loop with needle-nose pliers.
Next, you need to find a way to attach the pigtail to the switch. You can use a barrel crimp or other method. If you are unsure, call an electrician.
Daisy-chaining
If you have several light fixtures, you can connect them all to one switch with a technique called daisy chaining. This method saves installation time and money, and is good for recessed lighting. However, you need to know a few things about wiring to make this technique work.
First, you need to understand the difference between daisy chaining and wiring lights in series. Daisy-chaining involves connecting multiple light fixtures in parallel, rather than in series. You will need to run extra cable from each light fixture to the switch.
Daisy-chaining works by connecting the light’s hot and neutral wires to the switch. Then, you connect the other two wires to the screw on the next light.
It’s important to remember that the total power draw of the circuit must be less than the output power of the supply. If the circuit is too overloaded, the switch could burn.
Before you begin wiring, you’ll need to turn off the current and unplug the lights. This should be easy to do.
Converting a single light switch to a double light switch
If you have several light fixtures or lamps, you can wire them all to a single switch. It is a fairly simple process. However, you should be careful when connecting wires and make sure to use safety measures. The last thing you want is to accidentally break a switch.
To properly wire multiple lights to a single switch, you will need to connect two wires to each light location. These wires should be bare and the ends should be labeled. Also, you should attach the switches in a clockwise fashion. This is because the screw that is connected to the switch will be tightened in a clockwise direction.

Before attempting any wiring, you should first turn off power to the switch at the circuit panel. You should also disconnect the circuit cable to provide additional safety.
In most cases, you should use a voltage tester to verify that the circuit is dead. If you are unsure how to do this, you can consult an electrician.
Keeping wires neat and compact
If you’re wiring multiple lights to a single switch, you’ll want to ensure that your wires are kept neat and compact. You can achieve this by keeping your hot wire as long as possible, making sure that it has a wire connector cap, and pigtailing your bare ground and neutral wires. This will create a tidy, compact installation that is easy to clean, and will make the job a whole lot easier in the long run. Using the pigtail technique for connecting your bare ground and neutral wires also eliminates the need for separate pigtails.
Once you’ve wrapped the first light switch, you’ll want to wrap the hot wire in a clockwise direction, removing about 3/4 of an inch of the bare wire. You’ll then want to loop the wire around the screw of the next switch in a counterclockwise direction.
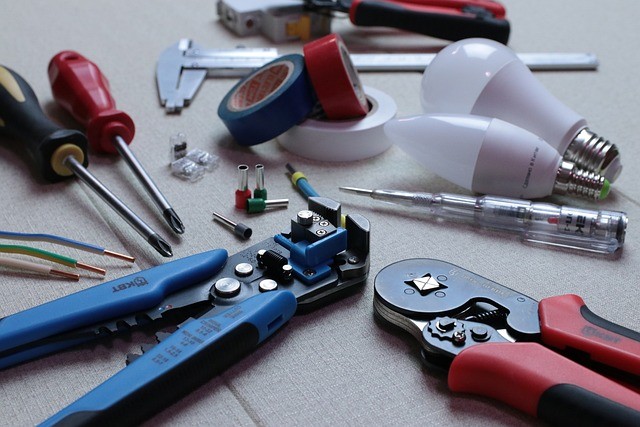
Photo by David Cain on Unsplash